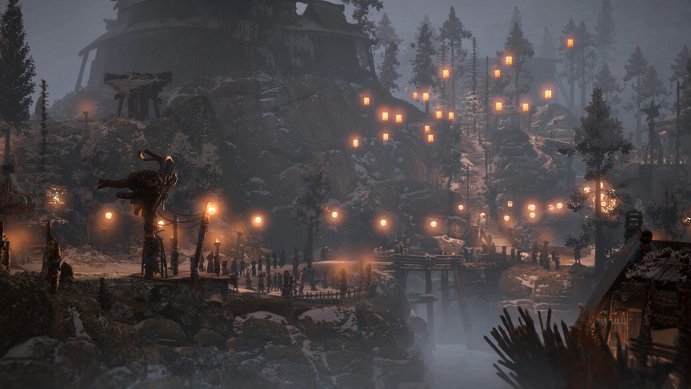
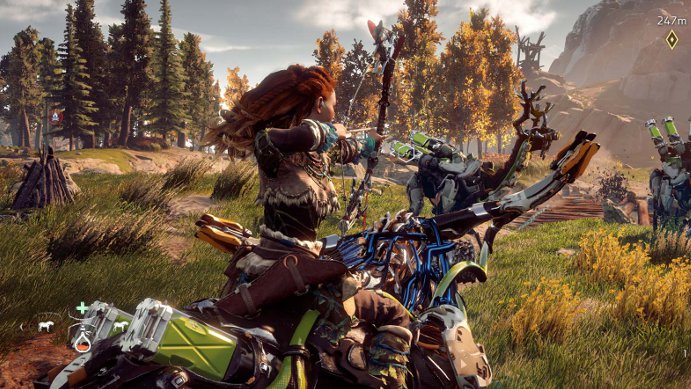
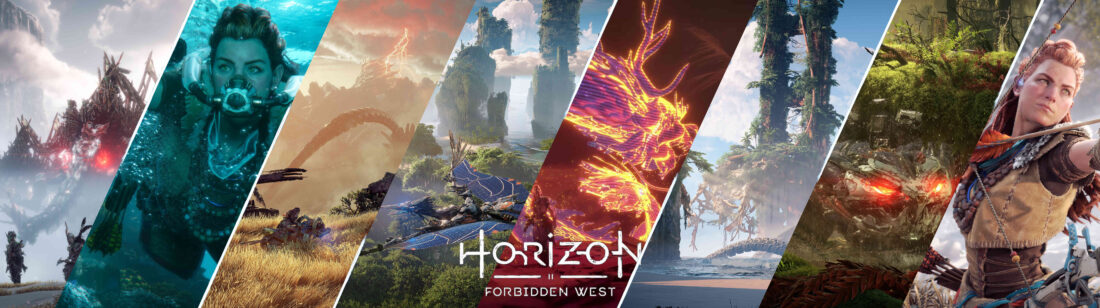
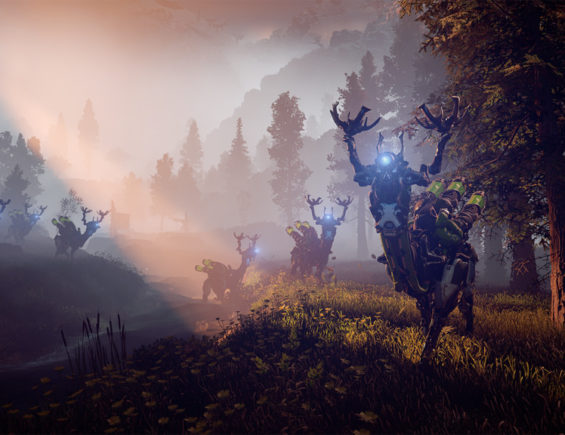
Oh man, how time flies! It’s so great to finally be able to acknowledge the existence of Horizon Forbidden West! Right now, there has been only an announce (which you can watch here), but there are exciting times around the corner!
Continue Reading And we’re back!Bafta nominations for sound and music!
Horizon Zero Dawn earned eight Bafta nominations, amongst which a nomination for both audio achievement and music!
VGMO and Playstation Blog Awards!
The music team of Horizon Zero Dawn won two music awards - VGMOnline and The Playstation Blog Awards.
Horizon Zero Dawn Music Team in Sound On Sound
In this Sound On Sound interview, Joris de Man, The Flight and Lucas van Tol discuss the music and the creative process of the music in Horizon Zero Dawn.
VGMO: “Horizon Zero Dawn Soundtrack”: 5/5 stars
Emily McMillan from VGMO reviews the score of Horizon Zero Dawn and awards it with five out of five stars.
D&D Cheat sheet voor spelers in het Nederlands
Voor Nederlandstalige spelers van D&D Mijn zoontje van zeven jaar begint interesse te krijgen in Dungeons and Dragons. We zijn al een tijd geleden begonnen met Hero Kids, maar nu...
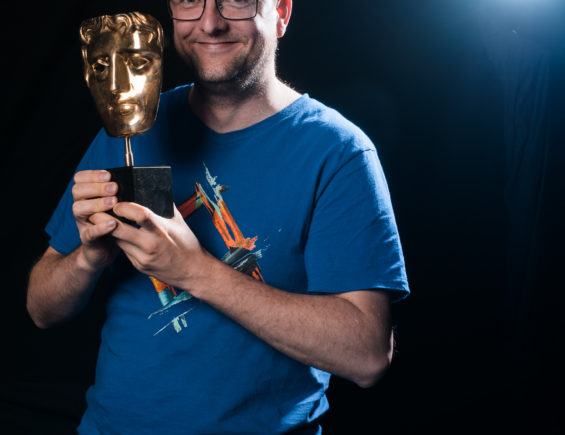
Bafta won for Best New IP!
Horizon Zero Dawn won a Bafta for Best New Original IP!
In-depth interview with The Sound Architect
Sam Hughes from The Sound Architect caught up with the Horizon Zero Dawn sound team to talk about its sound and music.
GANG awards for Best Choral and Best Instrumental!
Horizon Zero Dawn won G.A.N.G. awards for Best Choral Composition and Best Instrumental!
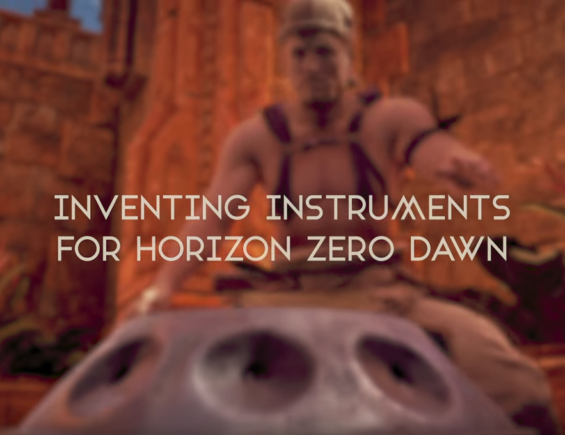
One Year Anniversary (+ diegetic music movie)
Because of Horizon's one year anniversary, we released a "making of" movie of the diegetic music process.